Showing posts with label 1967. Show all posts

Tuesday, June 27, 2017

Turquoise Drawer Pulls

The kids helped me install these awesome turquoise drawer pulls.  You ever take on a project that is big & hard only to surprise the hell out of yourself by exceeding your own expectations?  That's what happened with these cabinets and I couldn't be happier.  

Starting to add the drawer pulls.  Loving the look!!!
I spent time on the layout of pulls and like the way they turned out.  Some people put the door pulls centered in the top corner of the door, I didn't do that and prefer this result.

First, I centered the pulls on the top drawer face.


 Then, I made the door pulls even (level) with it and the lower drawer pulls plumb.  Notice how all of the top row pulls are on the same plane.  


Here, you can see how all of the top pulls line up.

Starting to pull the rest of the living space together also.  This is the front dinette/bed/storage area.  Cushions were custom made by a shop in Missoula.  The center cushion comes out and there is a table that adjusts in height to become a place to eat.  The table is also mobile, so we can use it outside or move it to clean or just move it out of the way for lounging.


 Recessed LED ceiling lights turned out great!  I got these from a marine supply place.


Here, you can see the maxx fan mount and ceiling lights.  Clean, elegant, awesome.  I know lots of people like the fantastic fan but be sure to check out MaxxFan Deluxe.  It has a thermostat, you can leave it open in the rain, the outside cover doesn't rip off in high wind, fan is reversible if you want to suck air in...  Highly recommend these units!


Happy family = project is worth the $ and effort

Although we can use it now, I still have a long 'to do list' to get this where I want it to be.  This is one of my next projects, gotta figure out how to tie all of this together with a nice face frame...

Wednesday, June 1, 2016

Veneer backing in curves?

Anyone have a good recommendation for a thin backing material for the base of my booth/dinette/couch/sleeper?  I'm putting a "U" shaped booth in the front of my 67 Streamline Duchess.  I've framed in some three curved radius along the base.  My plan was to use 1/8" door skin material and then use a real quarter sawn oak veneer.  The doorskin can handle the radius (~ 6") and I'm looking for alternatives that will be a good backing for my thin veneer material.  Recommendations?  Ideas?

Here you can see the basic shape outlined in masking tape. 


 This is a drawing with measurements of what I've framed.  Pics of framing below.
This shows the beginning of the frame and the black metal table legs.  This is a cool design that swings down to sleeper height.  It also is mobile and can go outside.


Here you can see the finished frame with 3 radius corners.  Still trying to figure out the best way to support the table top.  I've thought 1x2" oak in the straight aways but then am not sure what to do in the curves.  Ideas?
Working on where to put the seams in the plywood & cushions.  I want them to line up so its easier to access under seat storage.  Thinking I'll permanently mount seat plywood in the corners and then leave the three other sections as access. 

 In this section, I'm thinking one big piece of plywood/cushion.  Not planning to put in a hinge, just a small lip to keep plywood in place and then velcro the cushion.  

One last overall look at this phase.


Thursday, April 21, 2016

Build cabinets from scratch? Sure, why not...

While this blog is mostly about fixing up an old trailer, it could easily be titled, "A bunch of skills I never thought I'd learn."  In that spirit, I can now add custom cabinet maker to my growing list of trades I didn't know I wanted to learn.  Lots of advice out there saying not to build the doors or drawers or whatever but I jumped in with both feet & built everything except the drawer boxes, which I just ordered from Barker.


This is what my cabinet area looked like a few weeks ago.

Here is a picture of my little helpers.  They are applying a vinegar & rust stain that oxidizes the white oak and turns it black/blue/brown.

  This is a picture of the effect caused by the vinegar solution.  If you use this technique, I'd advise 1) apply the solution to everything at once  2) do not sand it after applying the vinegar & steel.  I tried it and it turns into a disaster.  3) Seal it with some kind of top coat as soon as it has the desired look.  The solution will rust and change color if you don't.

 This picture shows the wood still wet but in rapid transition.

I used the cheap Kreg jig pocket screw kit for assembling the face frames.  It worked great!  Link:  https://www.kregtool.com/store/c13/kreg-jigsreg/p169/kreg-jigreg-r3/


This is some of the raw material that is partially milled.  Most of these pieces became doors and drawers.  Big thanks to Home Resource in Missoula!!!!  Home Resource is a local non-profit that takes building material donations and offers them for sale.  In my case, they were good enough to mill my rough material into consistent thickness.  They also milled face frame 1x2 material into consistent width.  Affordable & quality work.

Here are the door frames going together.  I didn't have the right tools for cabinets but we have an amazing local non-profit tool library that has made this project possible.  Many thanks MUD (Missoula Urban Demonstration Project)!!!!  Because of MUD, I've had access to table saw, biscuit jointer, clamps, edge jointer, table top belt sander, etc.  For these face frames, I cut the material to width with the MUD table saw and then cut grooves in them for the 1/4" panel of quarter sawn oak plywood.


This image shows a drawer face being glued.  I used the MUD tools and clamps.  Turned out great and I barely had to sand the finished product.

 Dry-fitting one of the three doors.  Holy crap, this might work!

Work in progress shot...

 Gluing up a door.  

Here is an image showing the face frame with vinegar & rusted steel.  Not sure if you can tell in the picture but the finish is rusting and turning red.  I also don't like that it is washing out the cool grain in the quarter sawn oak I'm using...

Two finish doors.  Not as hard as I thought it was going to be.  Super pleased with the results.

Drawer front with awesome grain.

 Finish is even more red now.  I don't like it but am committed.


Applying the vinegar & steel finish to my favorite drawer front.  Looks like shit, so I sanded it off this drawer and the two face frames.  

 This is the same drawer as above after having sanded off the vinegar solution and added a quality stain.  

 In this shot, I'm applying teak oil to a stained drawer front.  Finally doing this beautiful wood some justice!

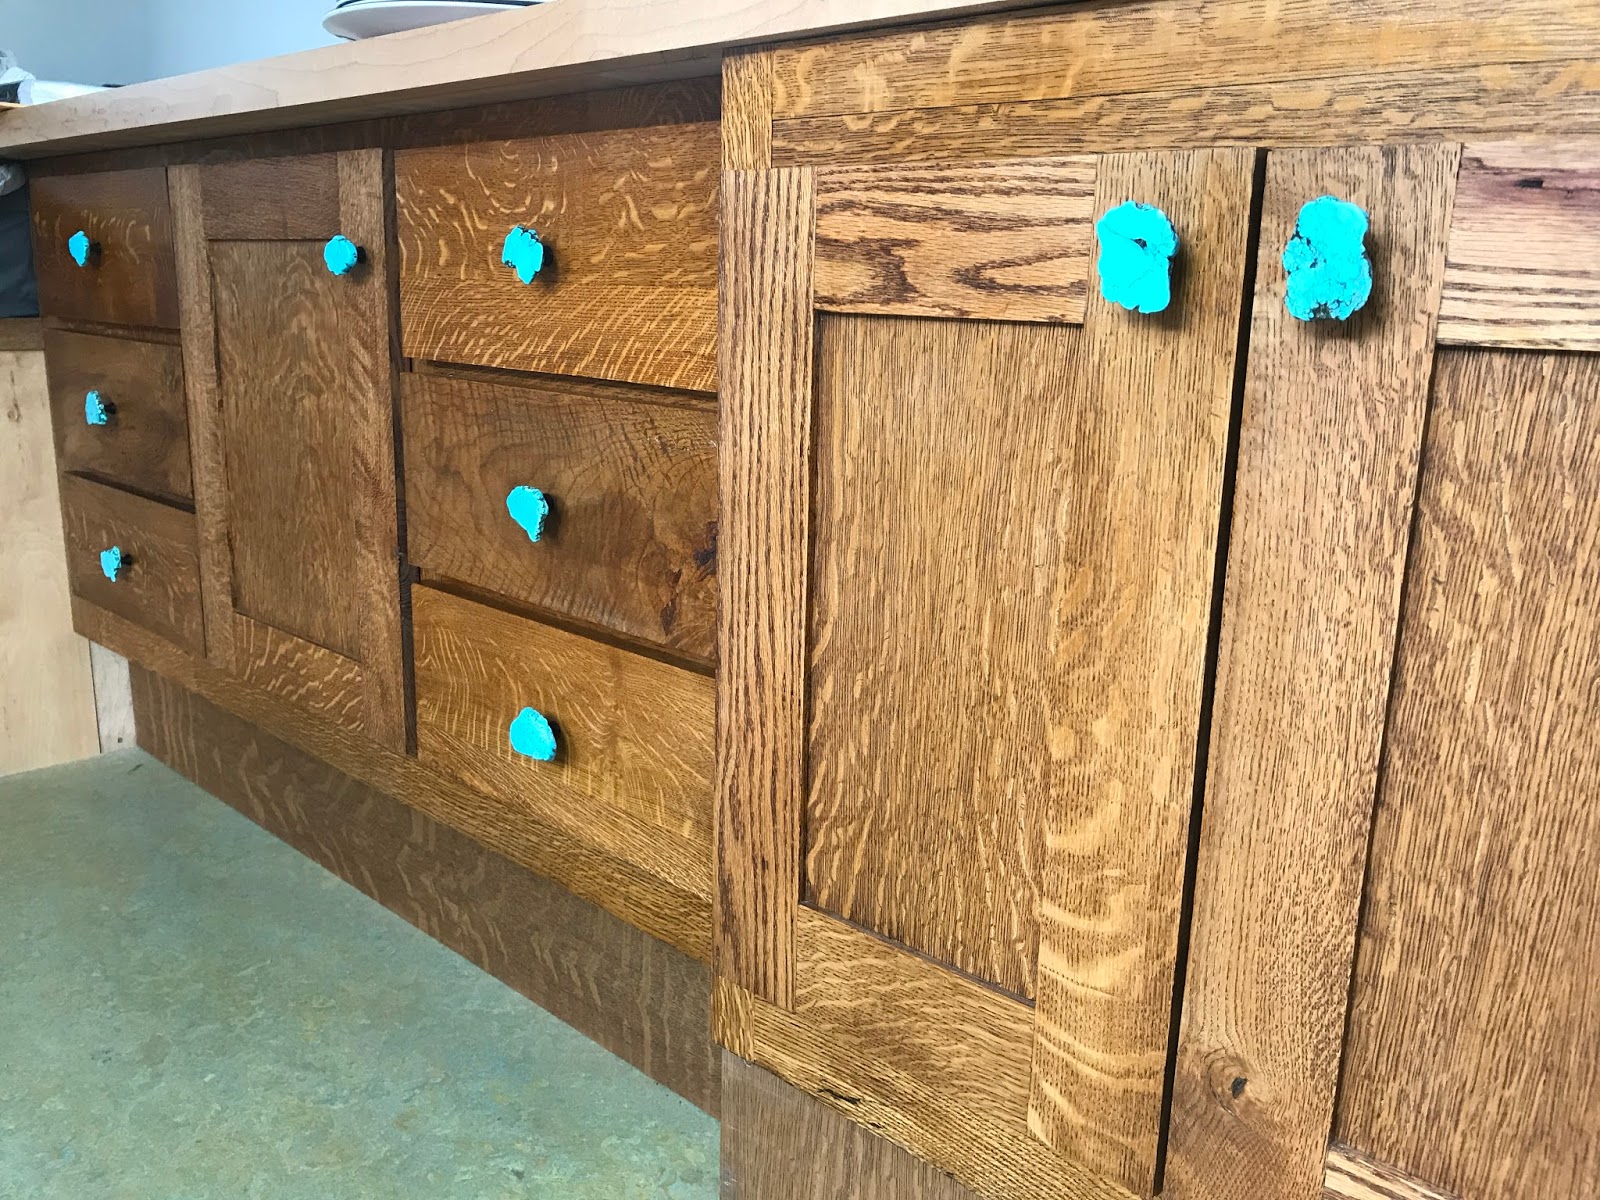
 Stained with dry oil.

Finishing up the cabinet with several thin layers of shellac. 

 Light isn't doing this justice but everything is looking great.  I left the black edges on the face frame from the vinegar & it gives a cool effect.

Face frame is installed and just need the barker drawer boxes to complete.  Just ordered them last night and they have a 7 week lead time!   Never expected that, guess I'll be working on other parts of the project for awhile...

Friday, February 5, 2016

Buttoning up inside & framing furniture

Reattaching ceiling panel
 I've done most of this work by myself, and that makes for some creative solutions to act as extra hands.  In this case, I built a wood frame just below the ceiling so that I could support the center ceiling aluminum without having it fall and have its own weight cause a crease.  It worked great.
Bed frame

 Above is a picture of the bed frame.  Trying to accomplish a bunch of objectives here.  First, this trailer has a tailgate with rear storage, so the bed frame had to be above that...giving it a height of 24".  I also wanted an oversized water tank because I'm not worried about weight (tow vehicle has a Hemi) and it just seem luxurious.  So, the center compartment is huge to accommodate a 60 gallon fresh water tank.  Other concerns were that this is built over my two waste water tanks, so I had to be careful where and how to attach this frame to the 5/8" floor.  The sheet of plywood you see on the right side looks out of place in this pic, but it's the end panel for my kitchen cabinet.

This picture shows one of the big problems I had to solve.  This corner had a fiberglass shower stall that broke when I removed it.  I had no idea how hard it would be to cover this area with aluminum.  The white triangle piece is fiberglass cut from the shower and all of the silver strips are a trial and error effort that finally paid off with the help of a fishing buddy. 

Here is the bed with the plywood cover.  I used high grade 1/2" maple from Lowes.  Its about $42 per sheet.  I could probably get away with a lower grade 3/8" product but I'm not taking any shortcuts.  I cut the back corners first.  Process is to get a piece that is oversized and about the right shape, then I made a scribe (1/2" x 1/2" x 18" square & pointed stick with a hole drilled in it for a pencil to poke through).  I drilled several pencil holes in my scribe tool and basically just cut and re-cut until I could match the irregular shape of the walls.  For me, being patient and taking my time paid off & every joint is within 1/8" of perfect.

Back to the outside to add a gravity water fill spout.  This barely fit under the gold trim, under the top of the bed on the inside, and still had enough fall to the top of my 60 gallon fresh water tank under the bed.   Guess I can't always be unlucky:)

 Here's another first for me.  Decided to go with curved radius corners on my booth.  You can see in the back that I cut a big half circle out of 3/4" plywood and then cut the circle in half to make two 1/4 circles.  Then I put lots of studs for surface area to attach the skin material later.  I'm using HD screws for everything.
 
Hard to explain how great it was to paint the inside.  Not the first coat though.  I ordered razzou zolotone textured paint and bought a special sprayer to apply it, and could not have been more disappointed.  One application my ass.  Anyway, it was a disaster.  I tried putting it on thick enough so that it would cover the primer and then it dripped and I had to wipe it off...  My recommendation is to pass on zolotone.  It did help to soften some texture changes but wasn't worth the $200 - especially since I had to paint two layers of primer and 4 layers of latex over it anyway.  Primer and good latex is hard to beat.

 This shot shows paint in the other direction and the 60 gallon fresh water tank.  Hope the framing is strong enough to hold the 500lbs of water sloshing around...?  I'll come back and make it stronger later.

Installed these tall panels to go define fridge/convection oven space and also added a back and end to kitchen cabinets.

 Here you can see the table and beginnings of my radius booth.  The table has a latch that swings the top down to bed height and also allows it to go outside for use.  My buddy has a table like this in his RPod and I love it.

Tuesday, January 5, 2016

Buttoning up the exterior

It's been a long time since I posted any progress.  I lost my shop space, so I took some time off for awhile and then got around to working on it again but not posting updates.  Here is the start to a series that will catch things up.

I added this period porch light.  It's the spartan art deco model available at Vintage trailer supply and other retailers.  The one that came with this project was a hideous square thing with rotten plastic cover.  I like this improvement.


 Here is the reattachment of the original gold anodized trim.  After all of the work re-manufacturing the frame and floor - I was completely shocked at how well the holes lined up.  I don't remember a single hole being off by more than 1/16" !!!
This is a picture of my new water heater install.  This one didn't fit the old hole, so that is a new piece with original drip molding.  Now that I look at it, I probably should have moved the drip down closer to better protect the heater....
Installed a new license plate holder that is very close to the original.

 Square Patch over the old furnace exhaust hole.